
Why Rotating Your Insulin Pump Site Matters (and How to Do It Right)

Why Insulin Pump Site Rotation is Critical for Your Health
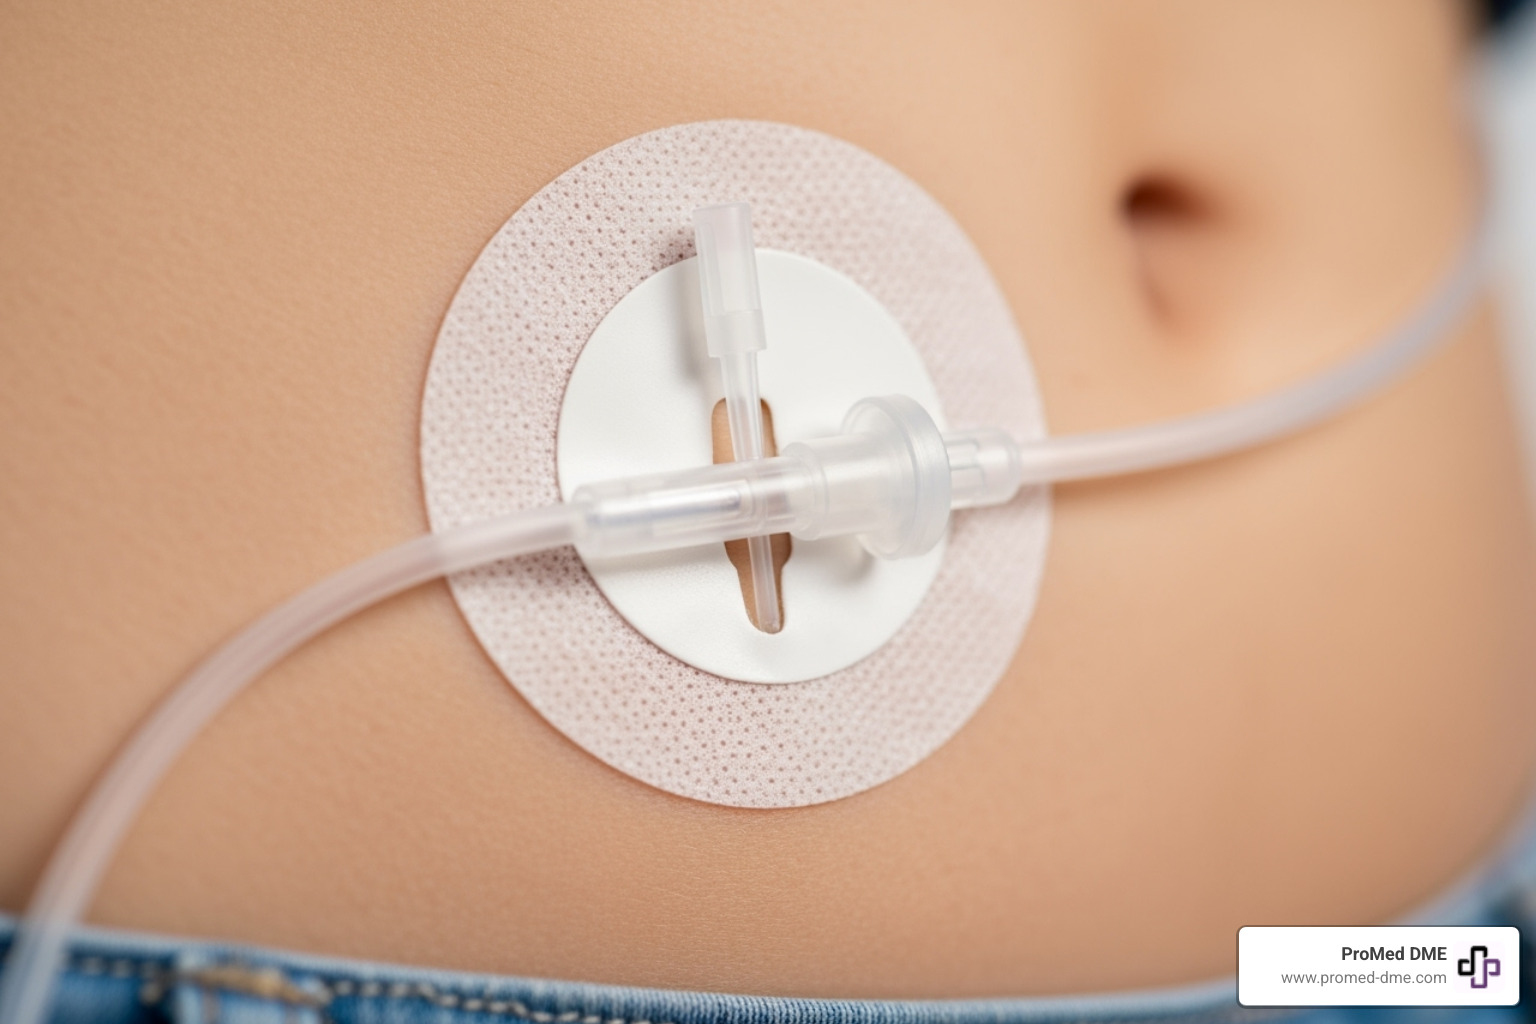
Insulin pump site rotation means regularly changing where you place your infusion set. This simple practice is crucial for preventing skin complications and ensuring consistent insulin absorption. Here's a quick overview:
Key Benefits:
- Prevents lipodystrophy (lumps or hardened tissue)
- Maintains consistent insulin absorption for better blood sugar control
- Reduces infection risk
- Allows skin to heal
Basic Rules:
- Change sites every 48-72 hours
- Move at least 1-2 inches from the previous site
- Use areas with enough fat tissue ("pinch an inch")
- Avoid the 2-inch area around your belly button and CGM sensor
Think of it like rotating car tires to prevent uneven wear. We rotate infusion sites to prevent skin problems and ensure proper insulin delivery.
Injecting into the same spot repeatedly causes lipodystrophy—thickened or bumpy tissue that doesn't absorb insulin well. This leads to unpredictable blood sugar and can take years to heal, if at all.
The good news is that proper site rotation is simple. With the right approach, you can keep your skin healthy, your insulin working effectively, and your blood sugars stable.

Easy Insulin pump site rotation word list:
Why Site Rotation is Non-Negotiable for Your Health
Using the same spot for your infusion set over and over damages the tissue, making it hardened and less able to absorb insulin. This can seriously disrupt your blood sugar control and create problems that take years to heal. Failing to rotate sites leads to two main issues: lipodystrophy and infection.
Understanding Lipodystrophy and Its Impact
Lipodystrophy is a condition where the fat tissue under your skin changes from repeated insulin injections. It can appear as lipohypertrophy (raised, rubbery lumps) or lipoatrophy (dents or dimples where fat has disappeared).
These damaged areas have reduced blood flow, which cripples insulin absorption. Injecting into this tissue leads to inconsistent insulin delivery and erratic glucose control. You might experience frustrating, unpredictable blood sugar swings even when you do everything else right. This can lead to stubbornly high glucose and even dangerous ketones.
Worst of all, these thickened skin areas and fatty lumps can take years to heal, and some may never fully recover. This means you could permanently lose usable infusion sites. Research confirms that the consequences of delayed pump infusion line change include higher rates of these skin problems.
Preventing Site Infections and Irritation
Beyond lipodystrophy, poor insulin pump site rotation increases the risk of infections. The adhesive patch creates a warm, humid environment perfect for bacterial growth. Leaving a set in too long or reusing an area too soon raises this risk.
Watch for warning signs of infection like redness and swelling, unusual pain at site, warmth, or drainage. Prevention is simple: practice proper hygiene. Always wash your hands and clean the skin with antiseptic wipes before inserting a new set. Giving your skin the rest it needs through consistent rotation is one of the best ways to keep it healthy.
The Ultimate Map to Your Body: Best Infusion Sites & Areas to Avoid
Successful insulin pump site rotation means knowing the best places on your body for an infusion set and which areas to avoid. The ideal spot has a good layer of subcutaneous fat, which you can check with the "pinch an inch" rule. If you can gently pinch an inch of tissue, it's likely a good location. Also, consider your lifestyle—active individuals may need to choose sites with less movement and rubbing from clothes.

Recommended Zones for Infusion Sets
Your body has several prime locations for infusion sets. Insulin absorption rates can vary slightly by area, with the abdomen often being the fastest.
- Abdomen: Easy to reach and see, with fast absorption. It's a great starting point for new pump users.
- Upper Buttocks: Often has consistent fat padding and less movement, making it a very secure spot.
- Hips and Flanks: These "love handle" areas have good fat coverage and are protected from daily bumps, making them comfortable for sleeping.
- Upper Arms: The back or outer sides can work well if you have enough fatty tissue, but may be difficult for those who are very active with their arms.
- Outer Thighs: Generally a comfortable area with good absorption, but consider how much your leg muscles move during exercise.
Critical Areas to Steer Clear Of
Just as important as knowing where to go is knowing where not to go. Avoiding these areas prevents poor absorption, irritation, and discomfort.
- Near your navel or CGM: Stay at least two inches away from your belly button and your CGM sensor.
- Damaged skin: Avoid scars, moles, tattoos, and stretch marks, as the tissue can absorb insulin unpredictably.
- Skin folds: Moisture can get trapped here, causing the adhesive to fail.
- Bony areas: Places with little fat padding are uncomfortable and lead to poor absorption.
- Irritation zones: Steer clear of your belt line, areas where clothing rubs, and spots where your body bends frequently (like joints).
- Overused sites: Never use any existing lumpy or hardened areas (lipodystrophy). Using them will only make the problem worse.
- Pressure points: Avoid spots where you'll lie on the set or where tight clothing creates constant pressure.
A Practical Guide to Insulin Pump Site Rotation
Knowing why and where to rotate sites is the first step; the next is how. A systematic approach to insulin pump site rotation is key to maintaining healthy tissue and consistent insulin absorption. Without a plan, it's easy to overuse favorite spots. A rotation strategy takes the guesswork out of the process and prevents complications.

Effective Insulin Pump Site Rotation Patterns
Using a pattern turns a confusing decision into a simple process. Here are some effective methods:
- The Clock Method: Ideal for the abdomen. Imagine your belly button is the center of a clock. Place your sites at 12, 3, 6, and 9 o'clock, then fill in the hours in between on subsequent changes, always staying 2 inches from your navel.
- The M or W Pattern: This works well on larger areas like the abdomen or thighs. Trace a large "M" or "W" across the area, using each point of the letter for a new site.
- The Quadrant/Box Pattern: Mentally divide a large area into four quadrants or a grid of squares. Use all the sites in one quadrant before moving to the next.
- One Side at a Time: A highly effective strategy is to use one side of your body (e.g., the left abdomen) for several weeks, moving a few inches with each change. Once that side has been fully used, switch to the other side (e.g., the right abdomen). This ensures each area gets a long rest.
Best Practices for Your Insulin Pump Site Rotation
- Keep Your Distance: The golden rule is to move to a new spot. For 90-degree sets, maintain at least a 1-inch minimum from the old site. For angled sets, allow a 2-inch minimum.
- Use a Reference: When changing your set, leave the old one in place until the new one is inserted. This provides a clear visual guide for proper spacing.
- Use an Insertion Device: These can be a huge help for consistent insertions, especially in hard-to-reach areas like the back of your arms.
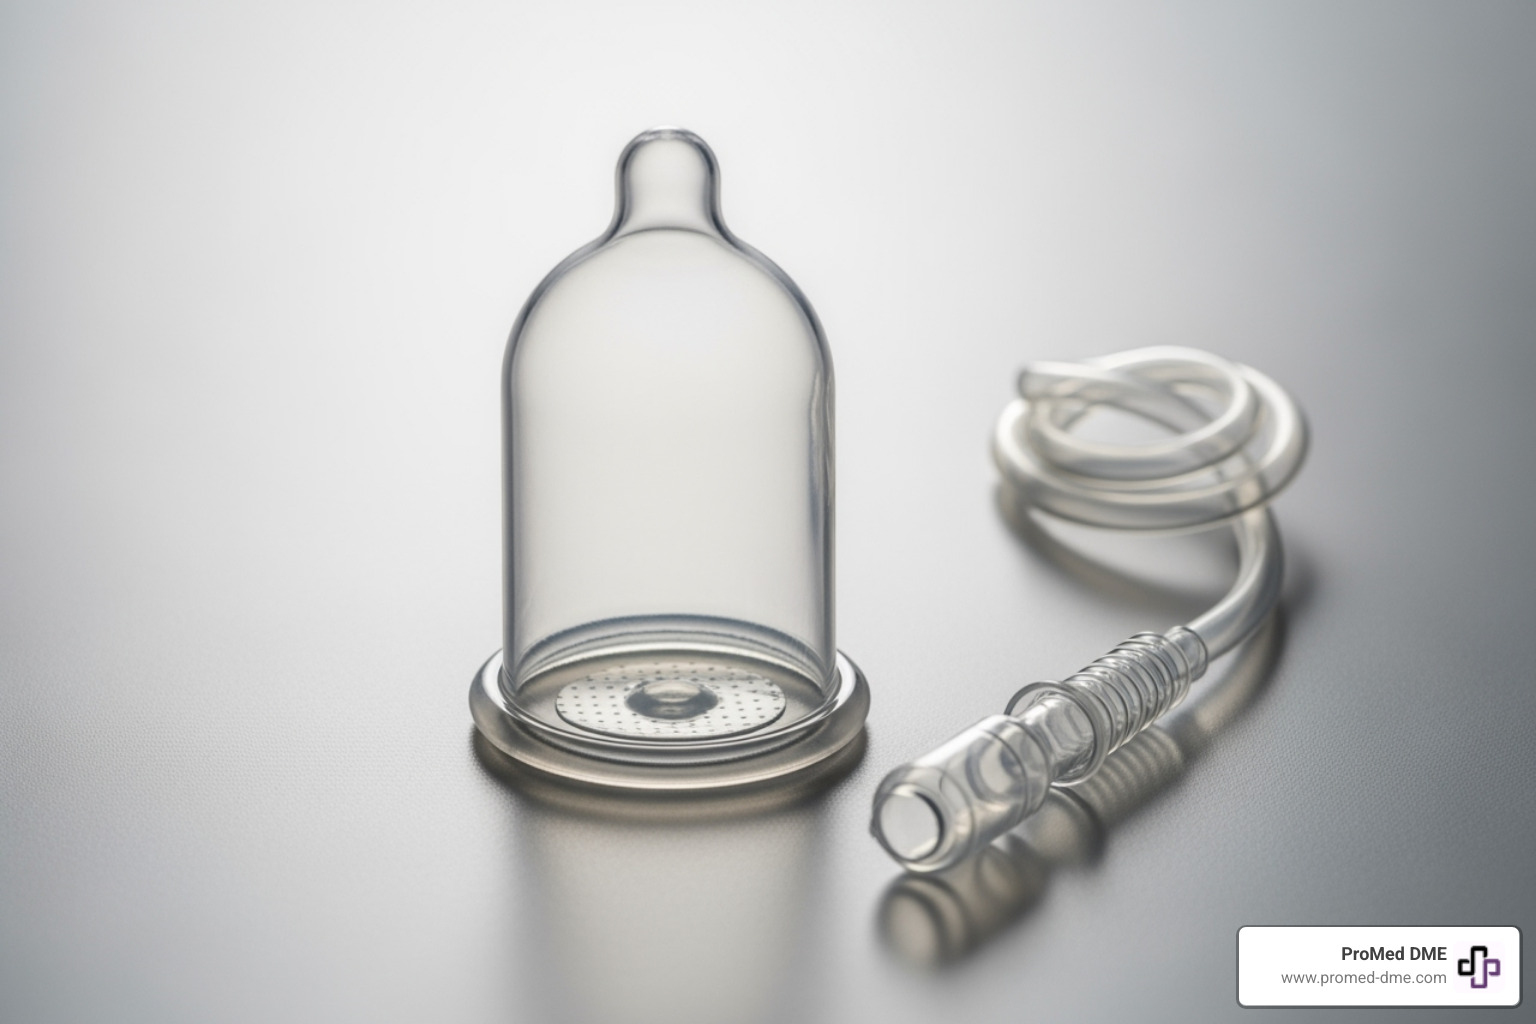
- Create a Safety Loop: After inserting a new set, tape a small loop of tubing to your skin an inch or two from the site. This acts as a shock absorber if the tubing gets snagged, preventing the cannula from being pulled out.
- Listen to Your Body: Always do a "pinch test" to ensure there's enough fatty tissue. If a site is painful during or after insertion, don't hesitate to remove it and try a different spot.
Timing is Everything: How Often to Change Your Infusion Site
The timing of your insulin pump site rotation can make the difference between smooth sailing and a rollercoaster of blood sugar levels. Over time, insulin can become less effective in the warm environment of your body, and the cannula under your skin can get clogged, kinked, or irritated. Sticking to a schedule prevents these headaches before they start.

The Standard Schedule for Site Changes
The standard recommendation is to change your infusion set every 48 to 72 hours (the 2-3 day rule). This balances insulin effectiveness with skin health.
- Every 48 hours (2 days): This is the gold standard for keeping insulin action consistent and skin healthy. It is especially important during pregnancy.
- Every 72 hours (3 days): This is often acceptable if you are not experiencing any site irritation or unexplained high blood sugars. However, if anything feels off on day three, it's best to change the site.
Since most insulin reservoirs hold a 2-3 day supply, it's convenient to change your infusion set and reservoir at the same time.
Warning Signs You Need an Immediate Change
Sometimes a site fails early. Recognizing these red flags can save you from frustration and high blood sugars. Change your site immediately if you notice:
- Pain, itching, or discomfort at the site
- Redness or swelling
- Blood in the cannula or tubing after insertion
- Insulin leakage or a wet adhesive
- Loose adhesive that won't stick properly
- Unexplained high blood glucose that doesn't respond to correction doses
- The presence of ketones, which indicates a serious lack of insulin and requires immediate action.
Even if the site looks fine, a bent or kinked cannula under the skin can block insulin flow. When in doubt, change it out.
Building a Routine: Tips to Never Forget a Site Change
It's easy to lose track of site changes in a busy life. The key to consistent insulin pump site rotation is building habits that make it automatic. Creating solid routines with smart reminders helps you stay ahead of potential problems.
Smart Strategies for Remembering Your Schedule
The best reminder system is one you'll use consistently. Try these methods:
- Use Technology: Set built-in pump reminders or recurring calendar alerts and smartphone alarms for every 48 or 72 hours.
- Try an App: Many diabetes management apps can track site locations and send change reminders.
- Link to a Routine: Tie your site change to an existing habit, like after your shower on specific days (e.g., every Tuesday and Friday morning).
- Limit Your Insulin: A clever trick is to fill your reservoir with only enough insulin for 2-3 days. When the pump alerts you that insulin is low, you'll know it's time for a site change too.
Find the method that fits your lifestyle and stick with it for consistent results.
Preparing for Your Next Site Change
Good preparation makes a site change smooth and stress-free. Follow these steps for a successful change:
- Organize Supplies: Keep everything you need (infusion sets, reservoirs, insulin, antiseptic wipes, skin prep) in one accessible place.
- Wash Your Hands: This is the most important step to prevent infection. Wash thoroughly with soap and water before handling any supplies.
- Clean the Site: Use an antiseptic wipe on your chosen spot and let it air-dry completely. This ensures the antiseptic works and the adhesive sticks well.
- Use Skin Prep (If Needed): For sensitive skin or adhesive issues, skin prep products like barrier wipes can protect your skin and improve adhesion.
- Ensure a Clean, Dry Area: Work on a clean, flat surface, and make sure your skin is completely dry before inserting the new set.
Making preparation a habit turns insulin pump site rotation into a confident, routine process.
Conclusion
Proper insulin pump site rotation is not just another task—it's one of the most critical habits for protecting your skin, ensuring stable blood sugars, and preventing long-term complications like lipodystrophy.
By following a systematic rotation pattern, choosing appropriate sites, and changing your set every 48-72 hours, you take control of your insulin absorption and overall health. Remember to avoid overused areas, stay away from your navel and CGM sensor, and use reminders to stay on schedule.
Every time you rotate your site, you're making a direct investment in your well-being and achieving better diabetes control. You've got this.
At ProMed DME, we understand the challenges of diabetes management. We're here to be your partner, providing not just top-quality diabetes supplies but also the support you need. Our dedicated nurse is available to answer your questions, and we work with most insurance plans to keep your costs down.
Get your insulin pump supplies and manage your diabetes with confidence.
Related Resources & Articles
Stay informed with our informative blog posts.

Discover the ProMed Advantage
& Try Our Products
We offer free shipping and legendary customer service to ensure you receive the
best DME products for your needs.